
A crucial step in setting up your Rent Application account is whitelisting all Rent Application emails. This ensures that you don't miss a notification when you receive a new application.
Below, we'll include instructions on whitelisting our emails in Google and Outlook, but the steps are very similar for all other providers.
How to Whitelist Emails in Gmail
Here's how to whitelist all Rent Application emails in 30 seconds.
Go to your Gmail inbox
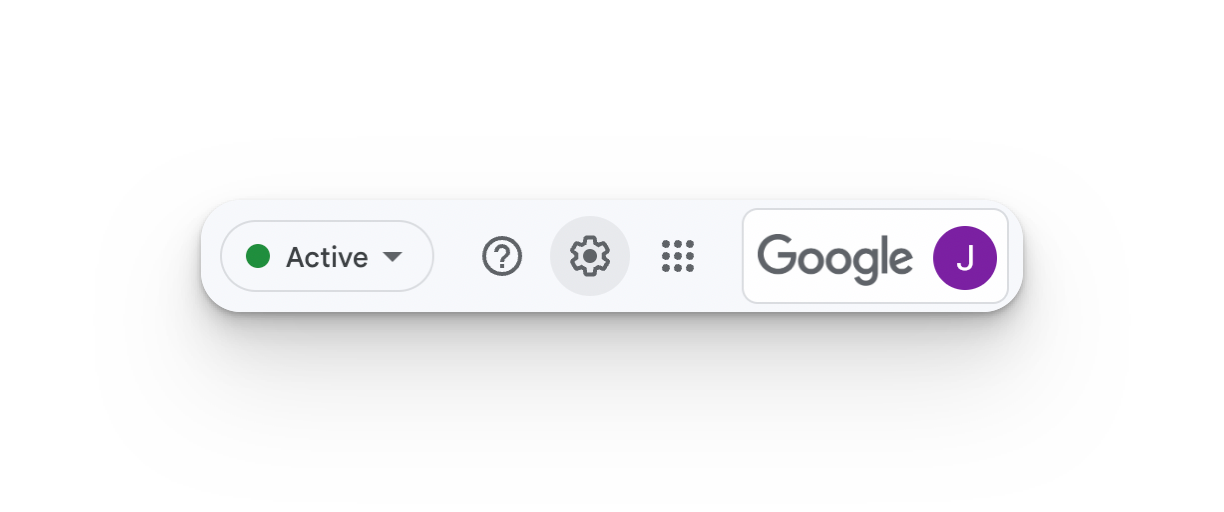
Click the settings gear in the upper right hand corner
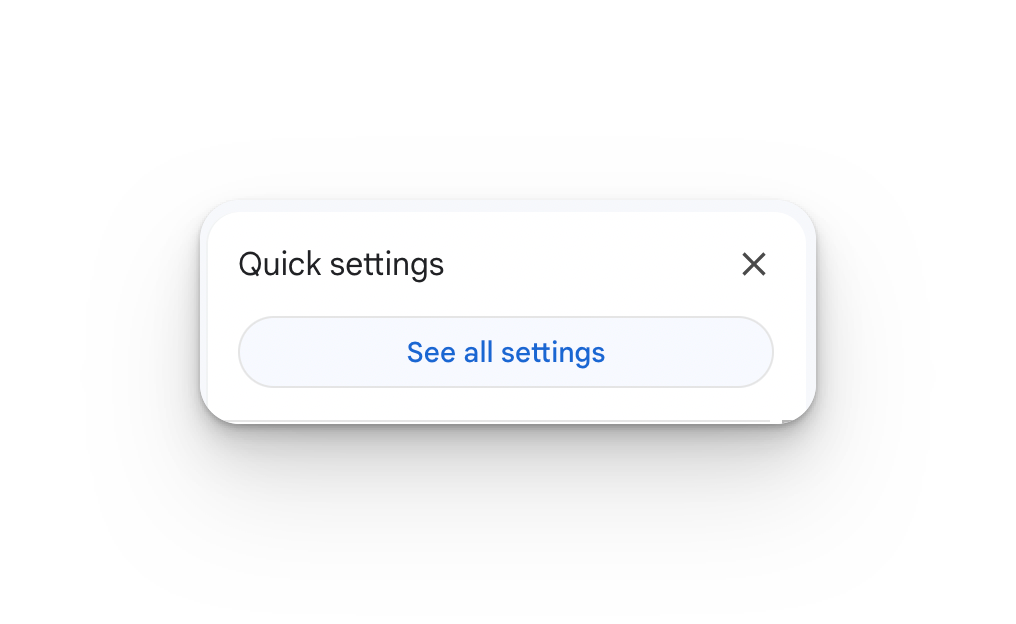
Click "See all settings"
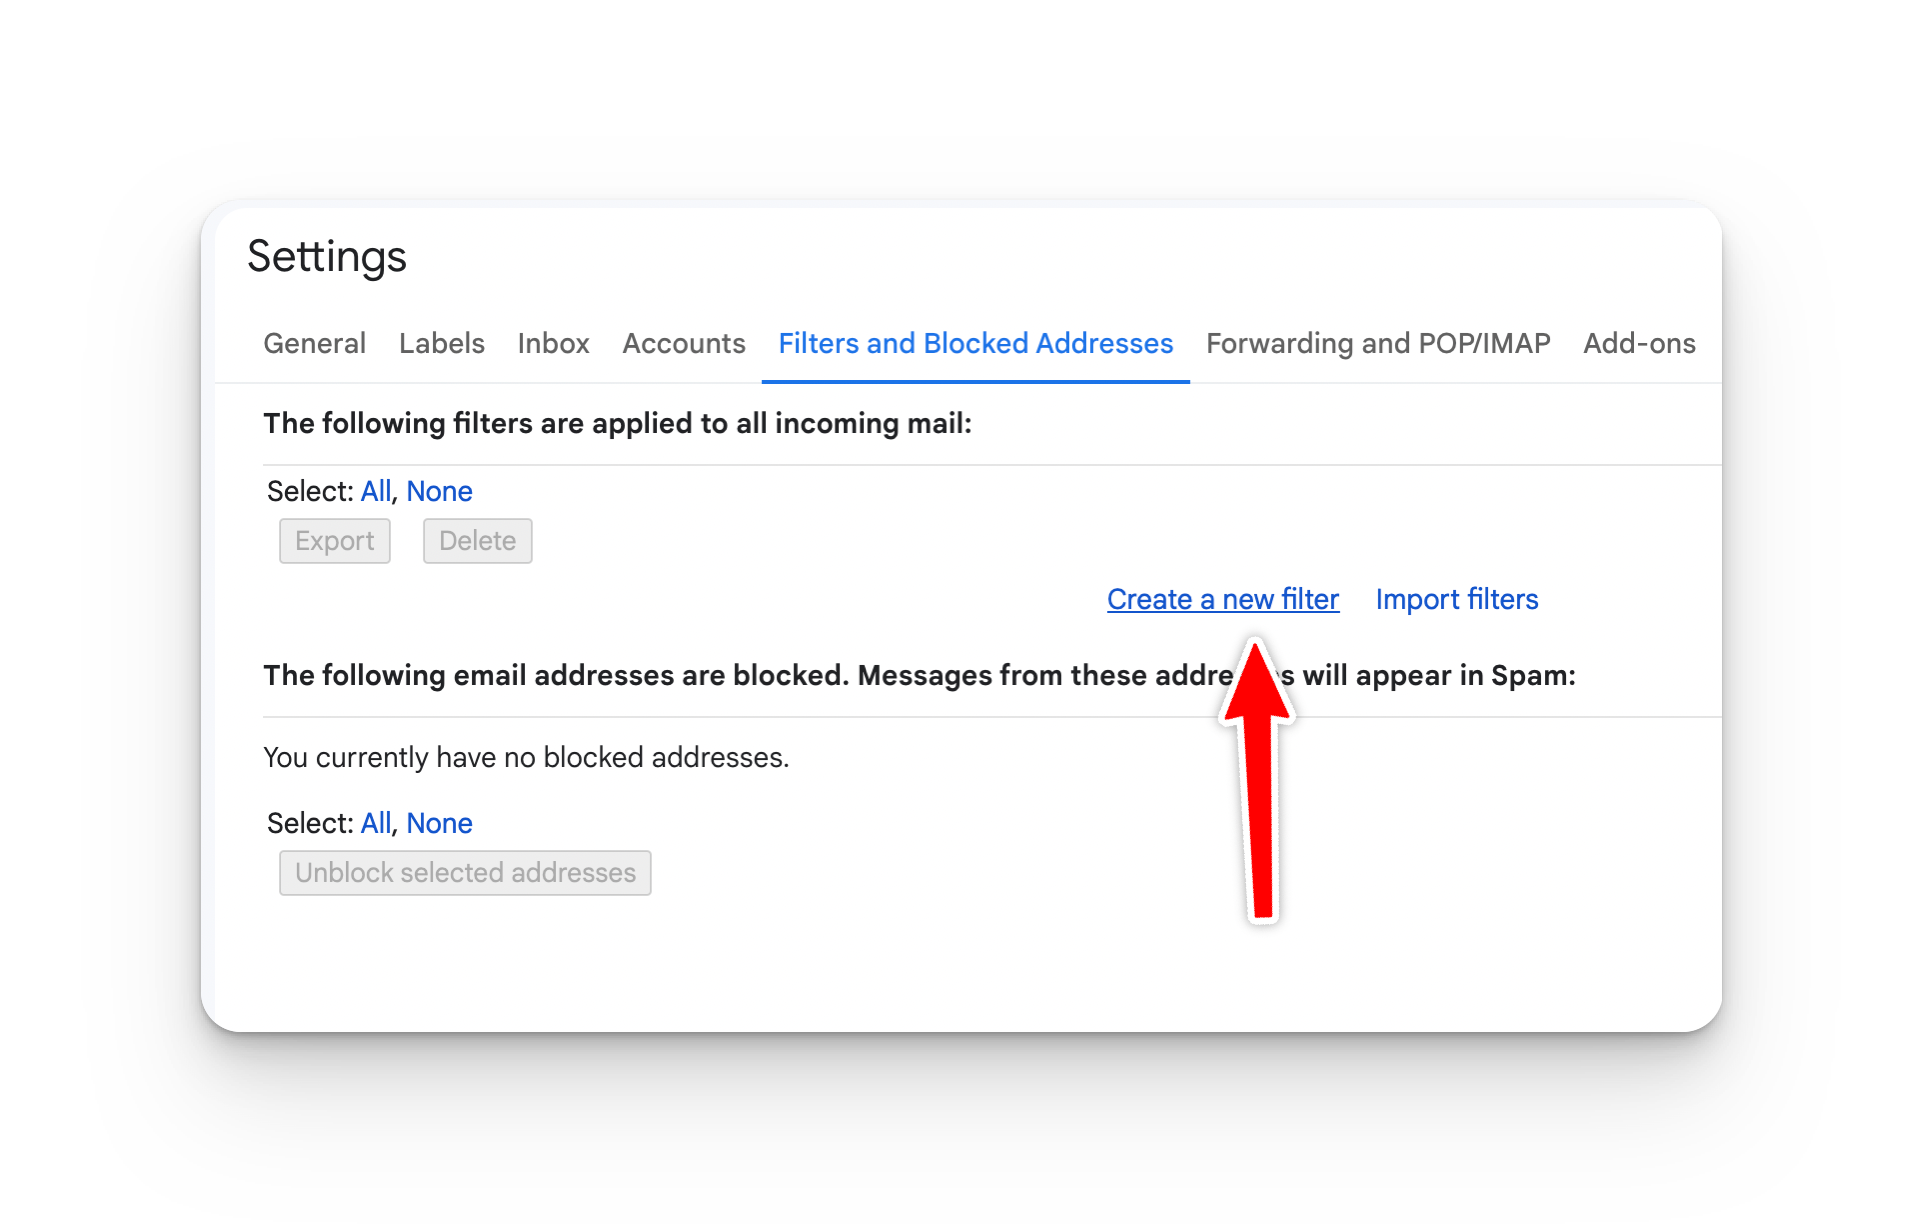
Go to "Filters and blocked addresses," and click "Create a new filter"
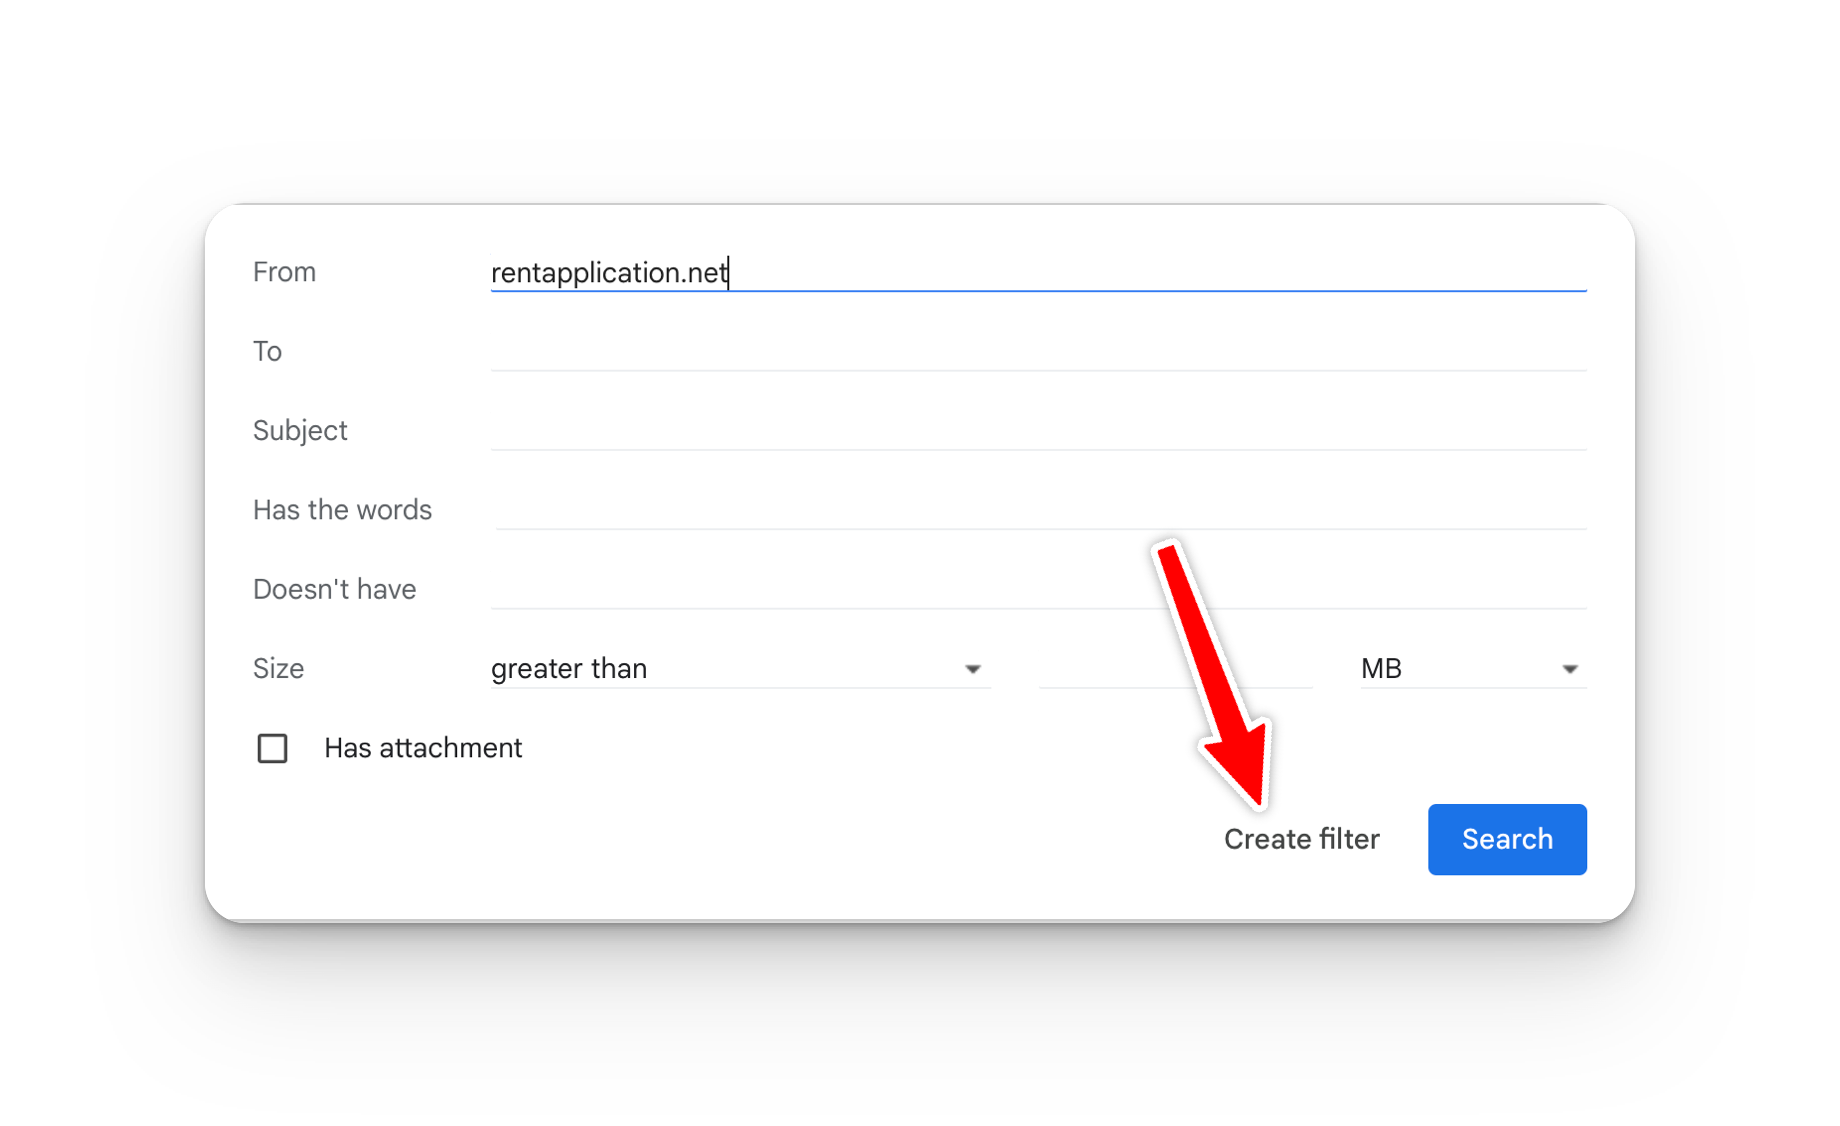
Put "rentapplication.net" in the From box, then click "Create filter."
Select "Never send it to spam", then create the filter!
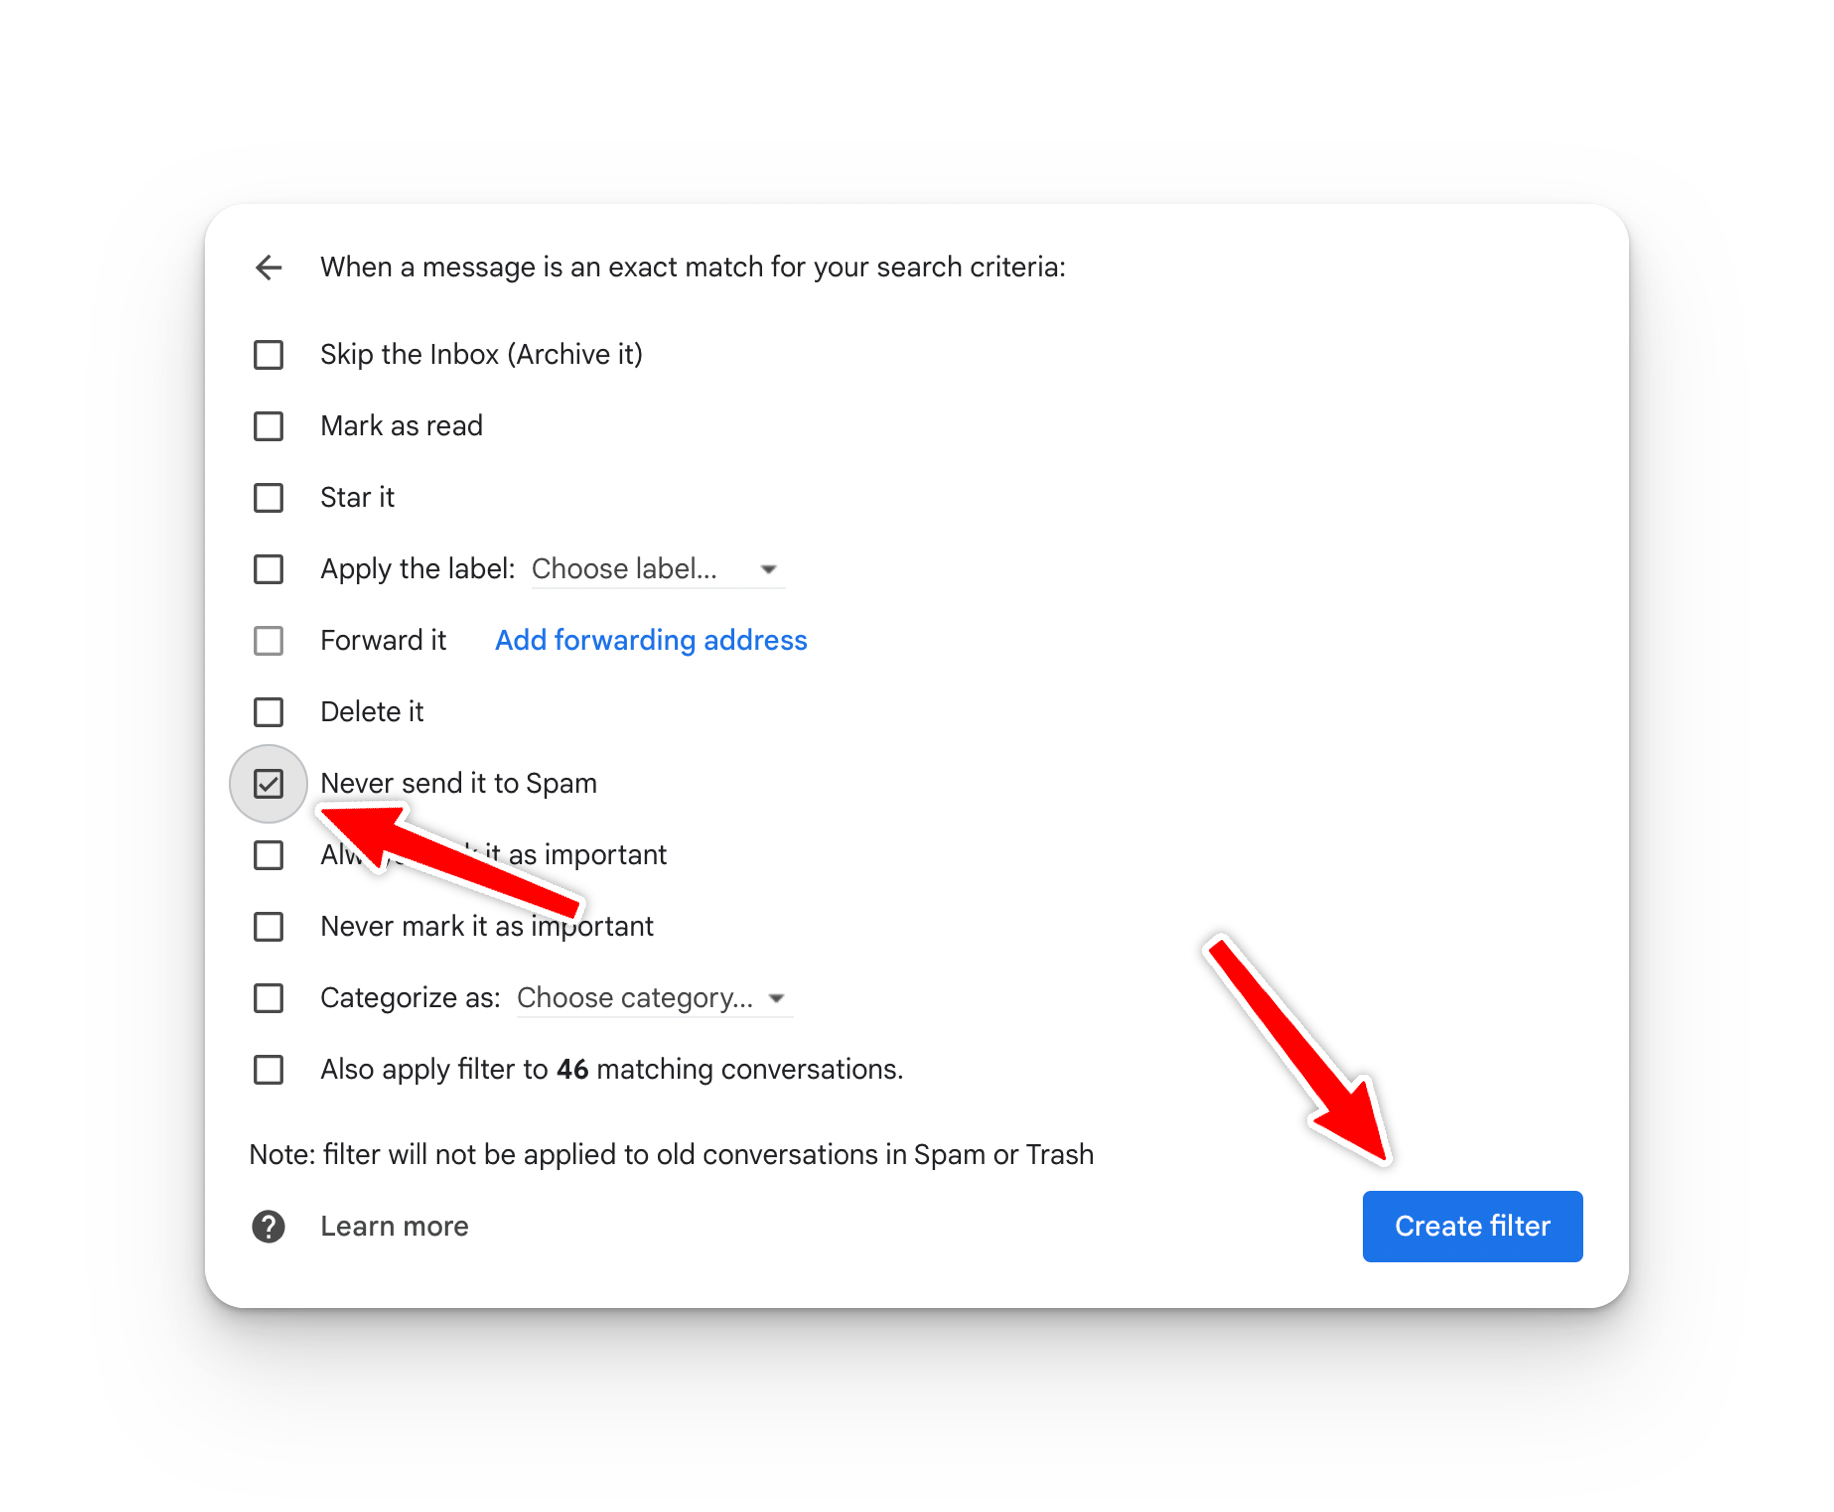
Hooray! You'll never miss another Rent App email.
How to Whitelist Emails in Outlook
Whitelisting all Rent Application emails in Outlook only takes about 10 seconds! See how.
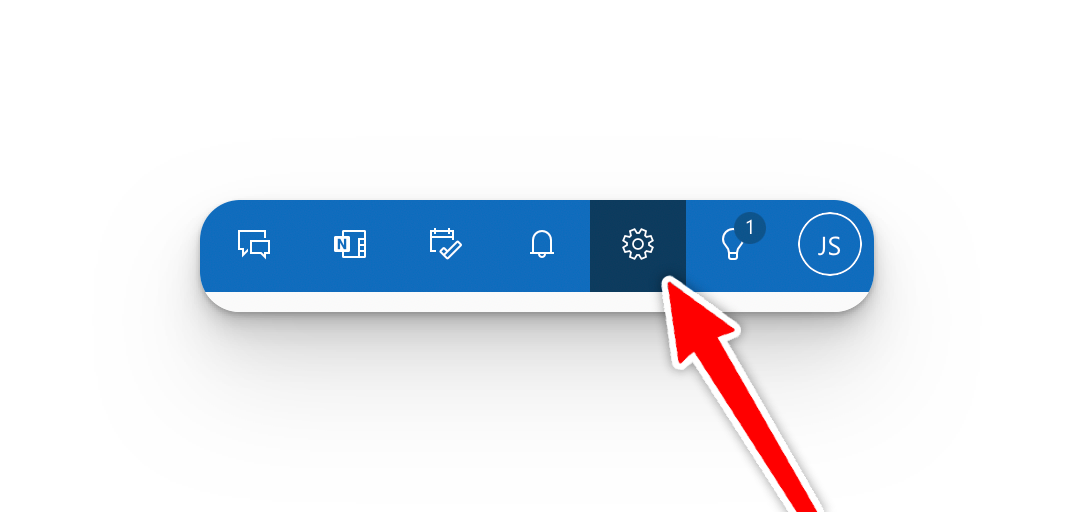
Go to your Outlook account (the web version has worked the best for us in testing). Click the settings gear in the upper right.
At the bottom of the popup, click "All outlook settings."

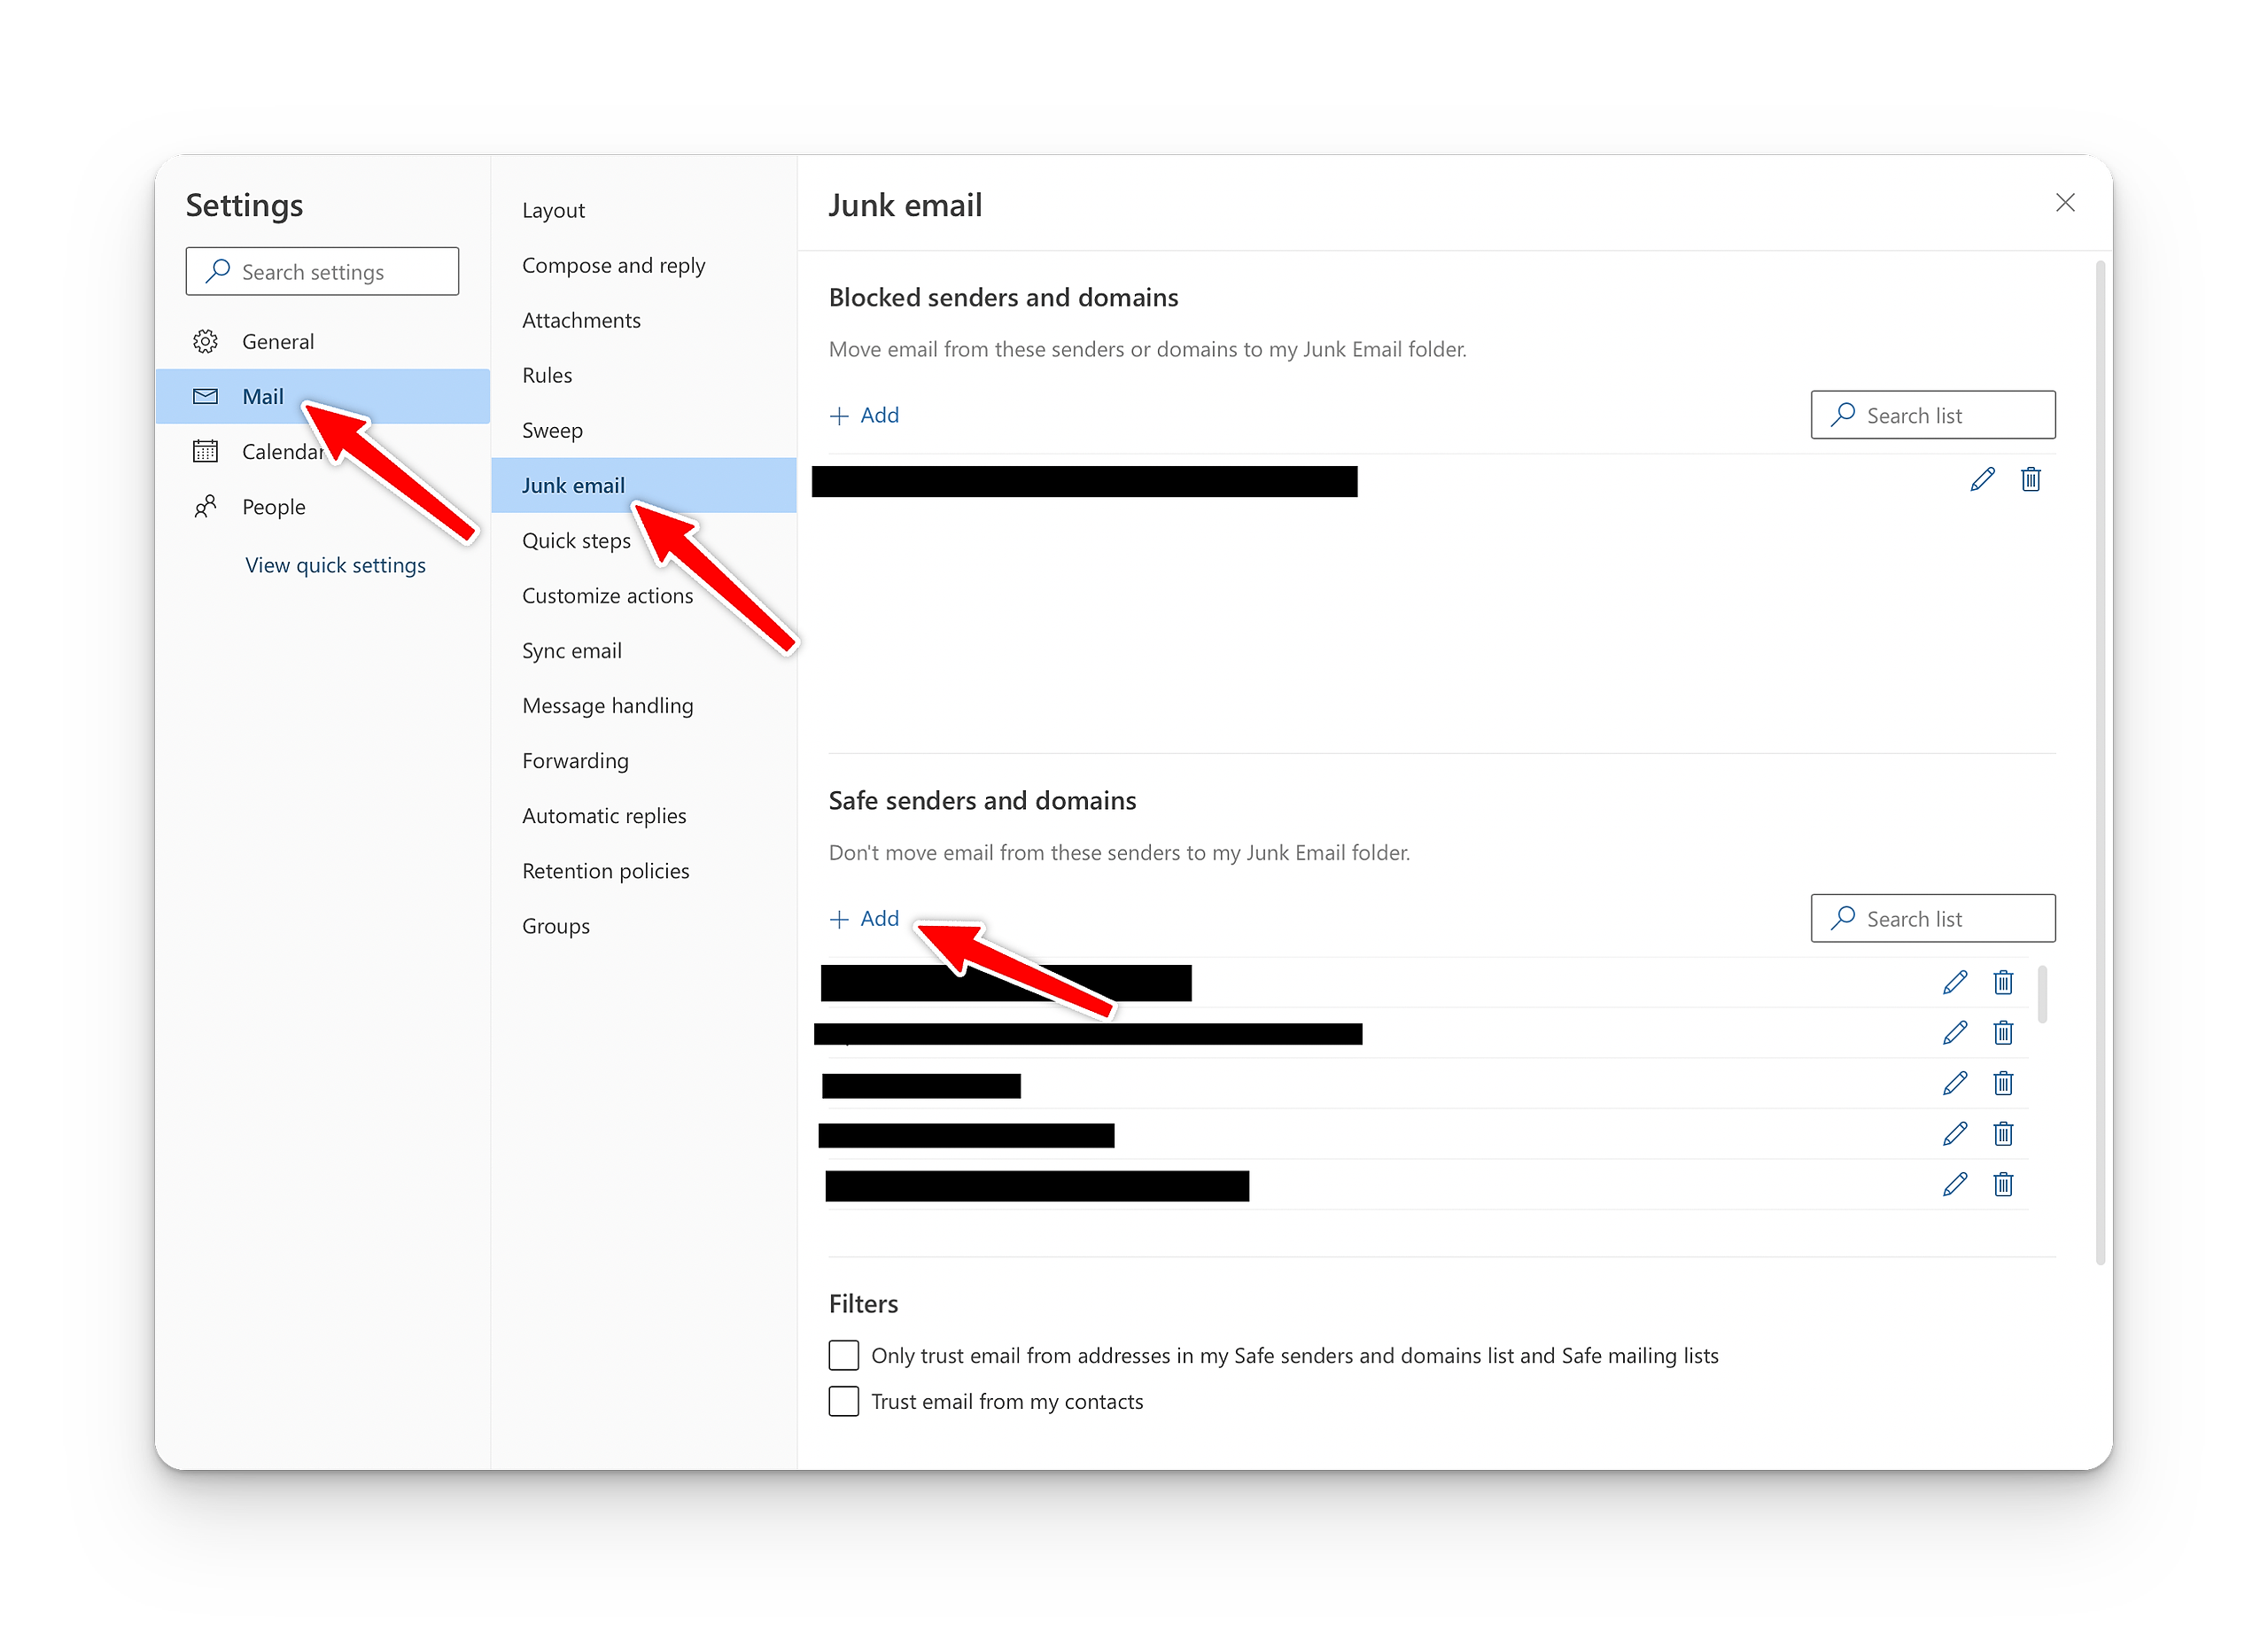
Click "Mail" -> "Junk Email" -> "+ Add"
Type in "rentapplication.net" and hit enter
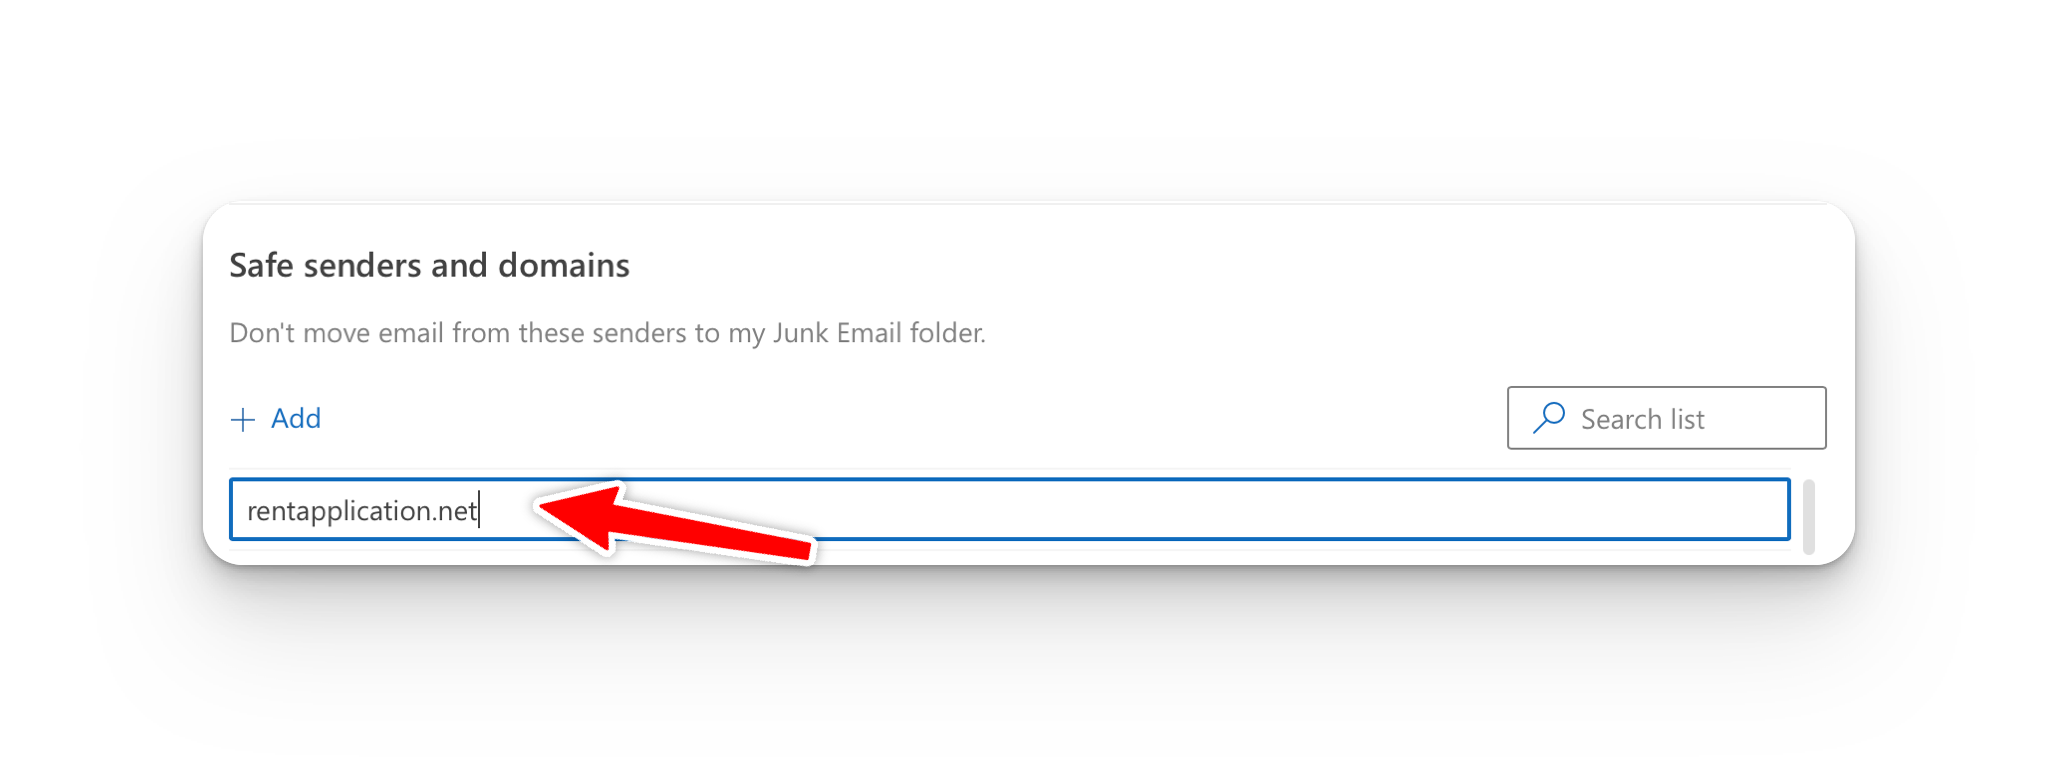
That's it! You'll never miss one of our emails again.
How to Whitelist an Email in Yahoo
Open Yahoo Mail and log into your account.
Navigate to “Settings” then click “More Settings.”
Select “Filters” and hit “Add” to enter the email you’d like to whitelist.
Name the filter and add the email address.
Select to send all mail to “Inbox.”
Save your settings.
How to Whitelist an Email in AOL
Log in to your AOL account.
Open “Contacts” from the left navigation pane.
Click the “New Contact” icon and add the email address.
Click the “Add Contact” button and you’re set.